These Valentines seem to be turning into a tradition. Happy day everyone!

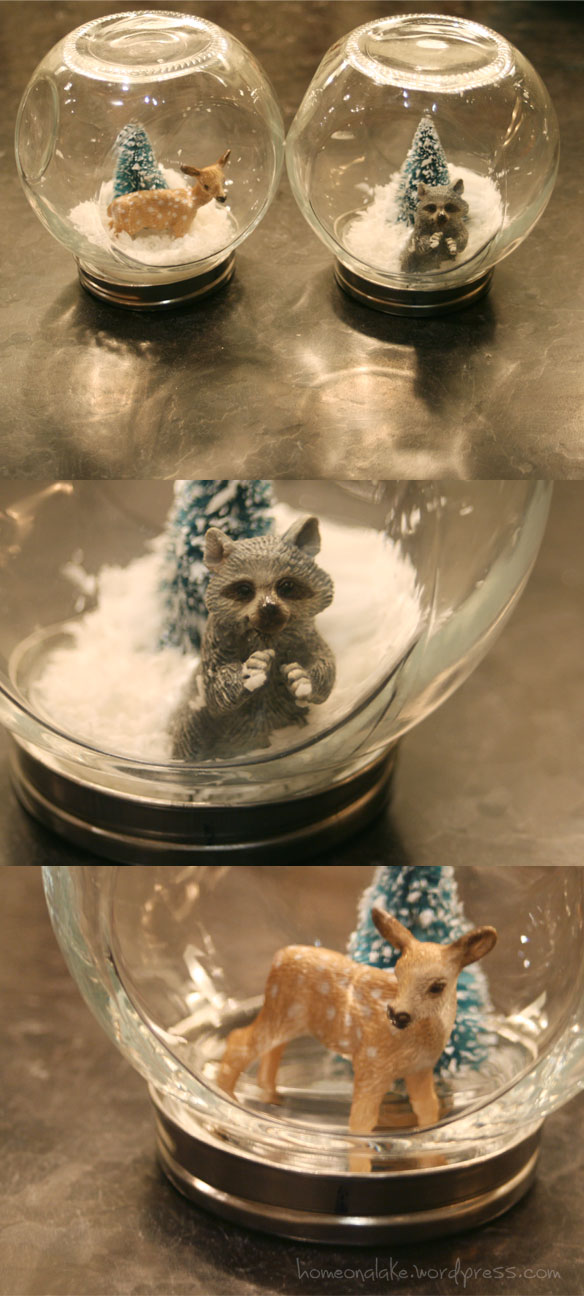
This is a fun little project the kids loved making last year and were just as thrilled to pull out of the Christmas decorating box and see them again this year.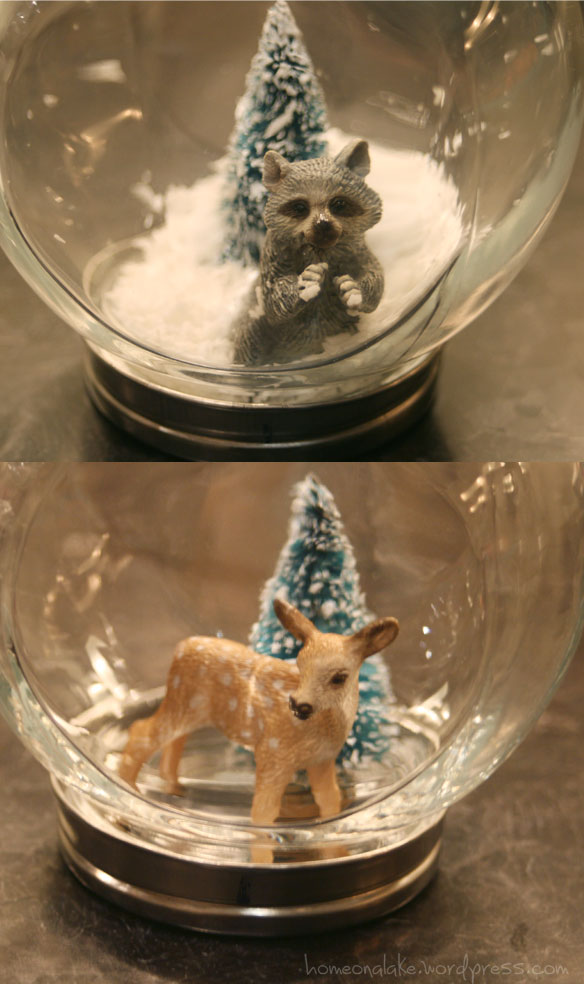
Here are the supplies you will need: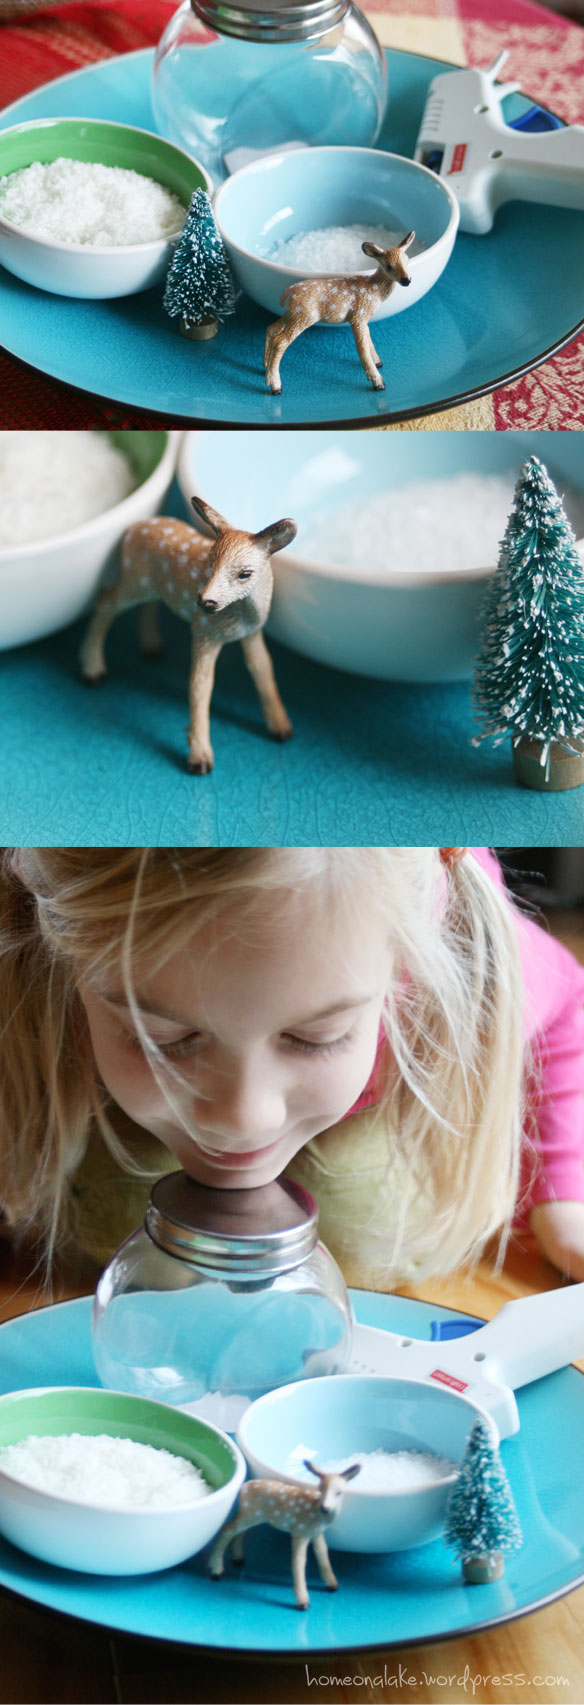
– Figurine ($3 at local toy store) and tree ($1 for 3-pack at dollar store)
*Note, make sure figurine fits in opening of globe!
– Globe (I used a jar from a dollar store $1)
– Snow (here I used finely shredded coconut and sugar to add sparkle)
– Glue gun
– Marker
I am sure it is pretty self-explanatory to do this but here are the steps:
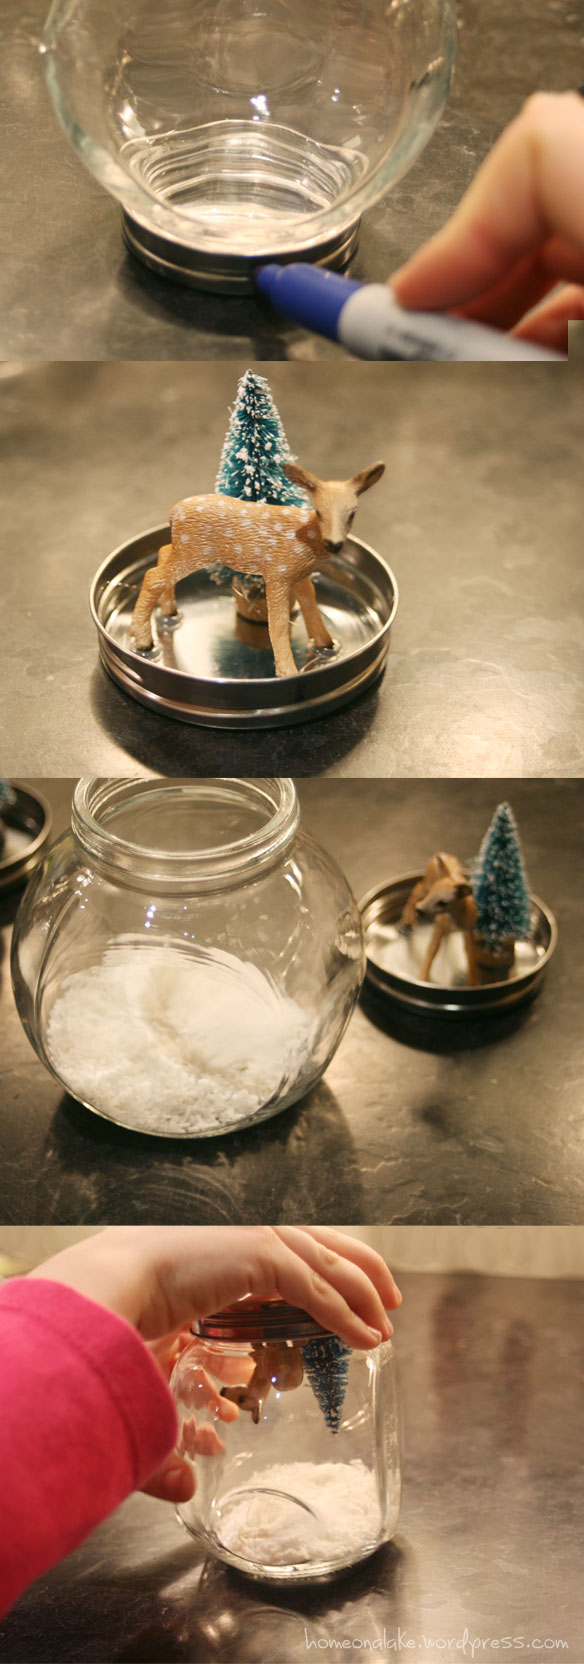
1) If the jar is not even all around, close lid and make a mark on lid where the front of the jar is so you will know which way to place figurine.
2) Open lid and hot-glue figurine and tree to lid
3) Fill globe with snow, close lid and voila!
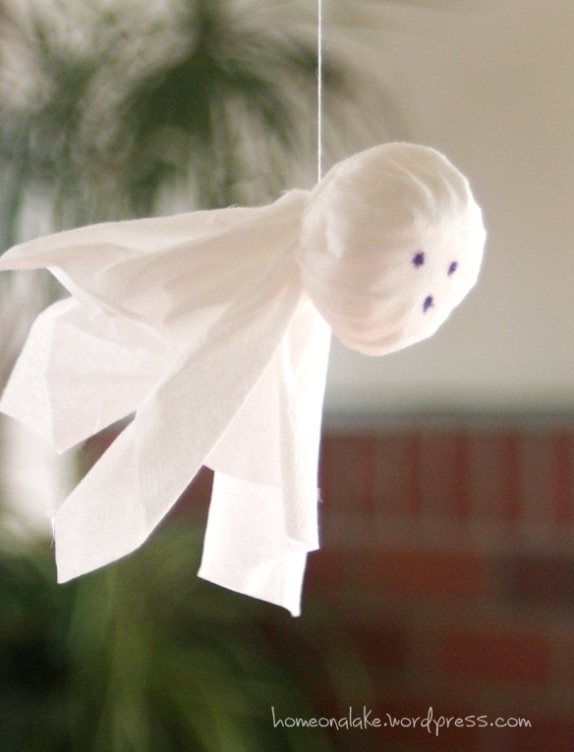
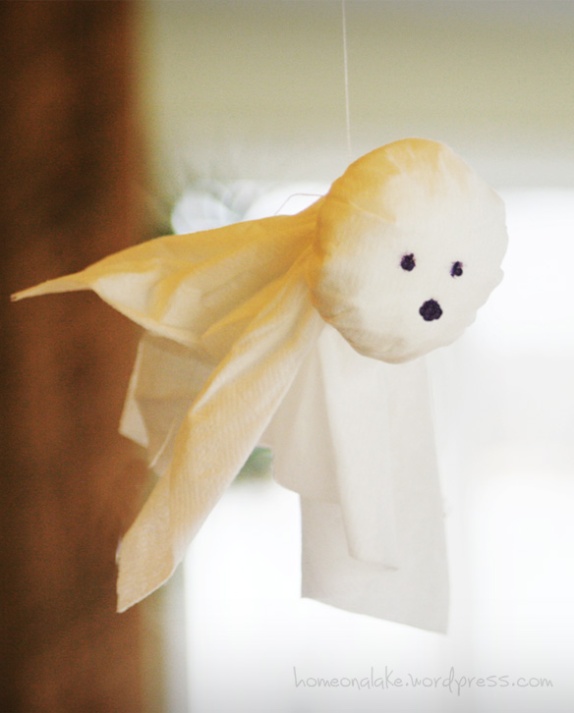
Of all the fun crafts my mom involved my sister and I with when we were kids, this one stands out as my favourite and my kids seem to love it too. It is about as simple as you can get as far as Halloween crafts go and great for all ages.
Supplies:
– Kleenex (tissue)
– White thread
– Marker
1) Take one tissue and scrunch it into a ball.
2) Wrap second tissue around first and twist to form the head.
3) Wrap thread around neck of ghost and tie knot leaving enough tail of thread to be used to hang onto something.
4) Make dots on face with marker for eyes and mouth.
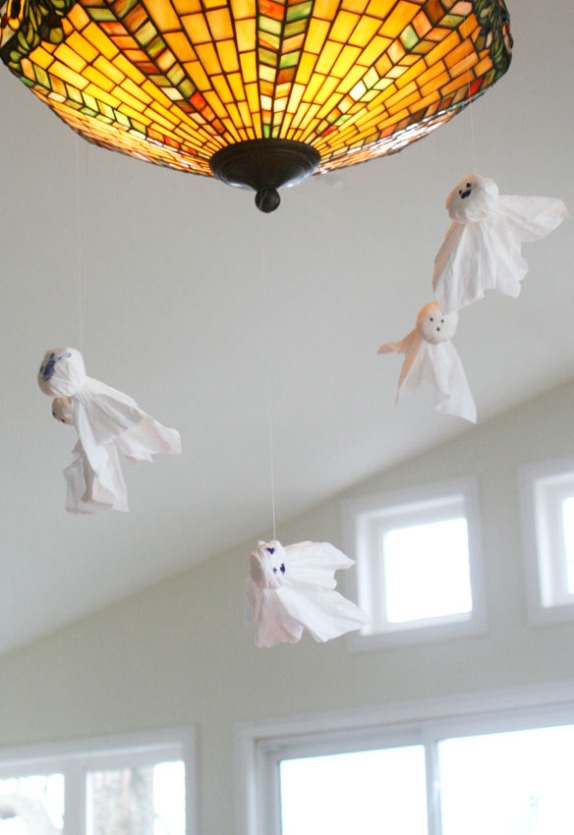
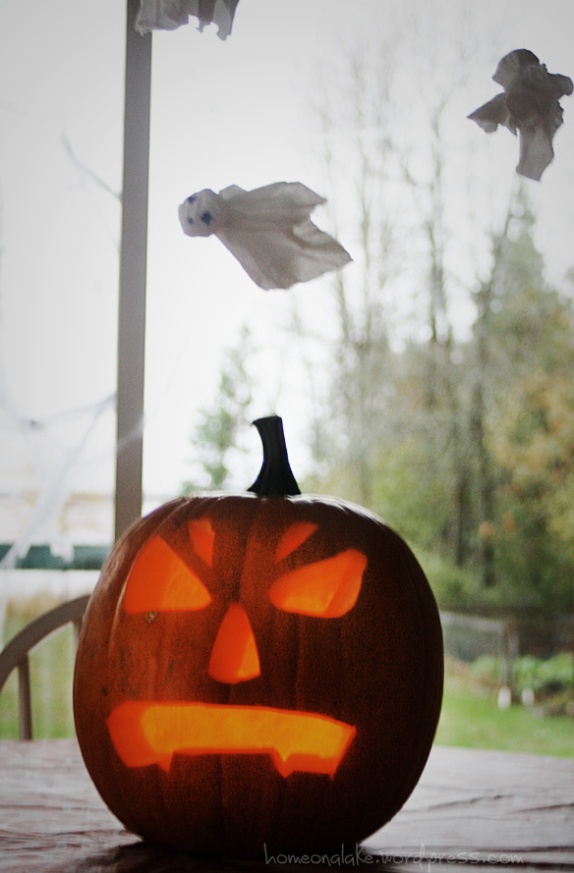
We have hung them from our dining light but are also great in a window or anywhere really. Another great option is to pick a branch and hang them from the it.
It is April 12th and we are in the middle of a snowstorm! Since the kids have a snow day today, I am trying to think of ways to keep them busy and me sane. Here are some fun and easy activities we have tried recently.
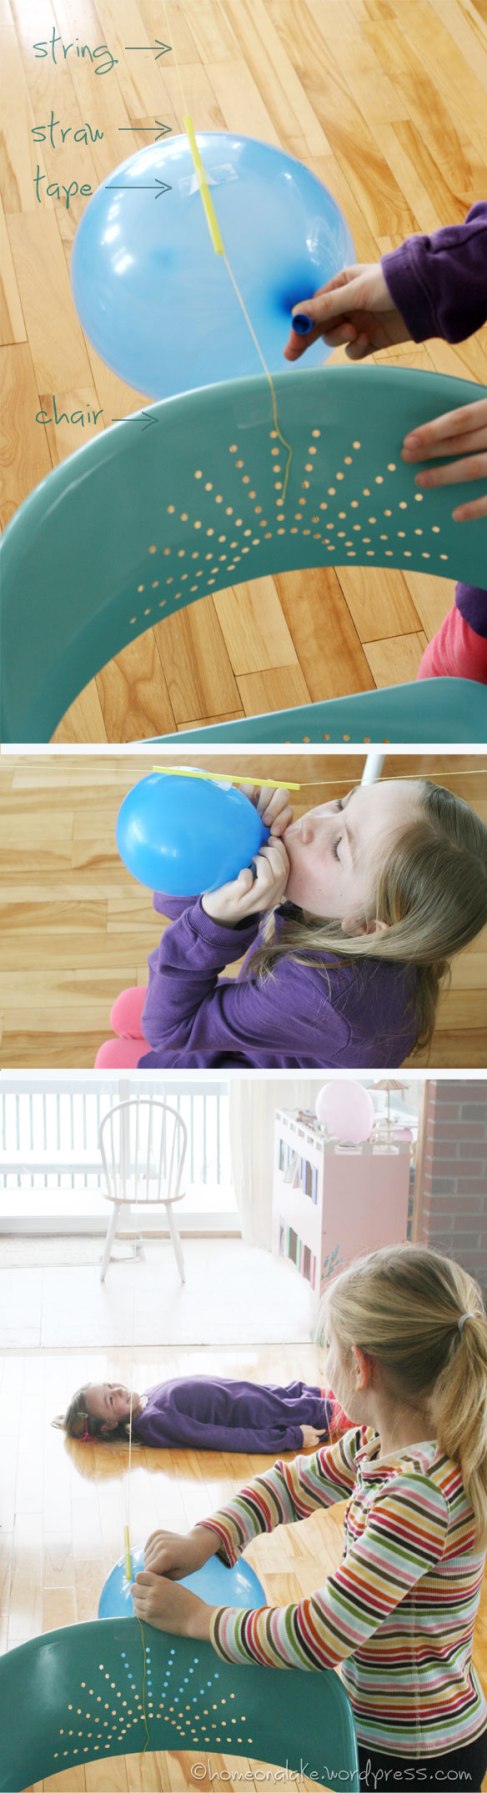
Balloon Rocket
Need: straw, string, tape, balloon, 2 chairs
• Cut a straw and put a string through it
• Tie one end to one chair and the other end to another chair
• Blow up a balloon and hold end closed while taping it to the straw
• Slide balloon and straw to the end of the string which has the balloon opening facing the chair
• Let go and watch the balloon rocket fly!
• The kids liked it when one child would let go and the other child would lie under the string so the rocket would fly over them.
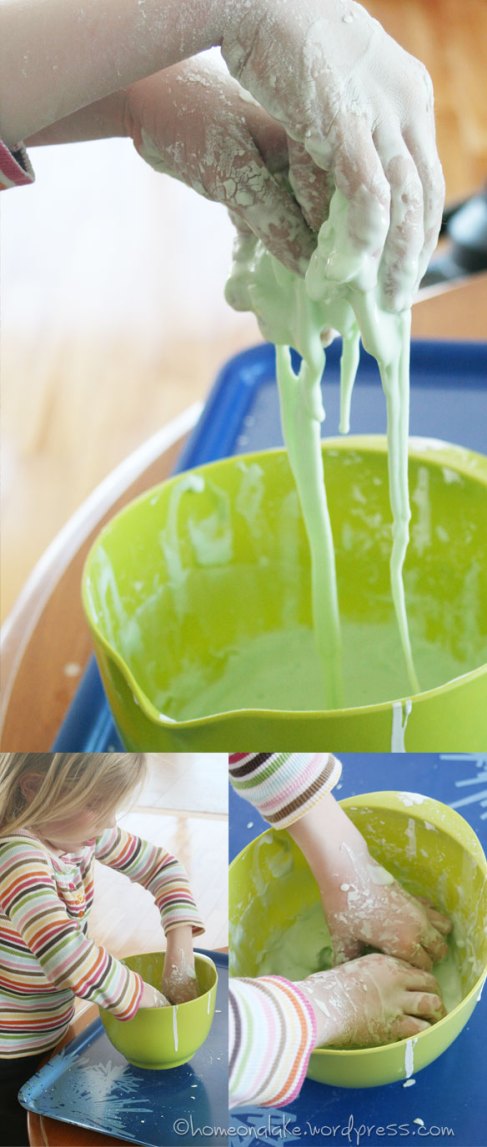
Goo Science
The goo is sometimes liquid and sometimes solid and so much fun! Scientists would call this a “colloid”. You can roll it into a ball but if you hold the ball in your hand, it will liquify and run through your fingers. The kids could probably play with this for hours.
How to make it:
• Put about 2 cups of cornstarch in a bowl
• One child slowly adds water a little at a time while other child mixes with their hands
• Once you get the perfect consistency of liquid/solid it is time to play

This idea is entirely thanks to my 8 year old. She wanted to decorate for Easter and loves cutting out snowflakes at Christmas time. She combined the two ideas by drawing and cutting out an Easter egg shape, then folding it in half twice and cutting out shapes as you would a snowflake. Be sure to only cut the shapes from the two folded sides. We finished by putting ribbon through a hole in each of the eggs and then hanging them up. So easy, fun and looks great! Such a clever little monkey 🙂


I have had a pen on top of the fridge to write on my fridge lists but it manages to roll off or disappear. I had an empty tin from some ginger candies that I love the look of and thought I would try out something I had seen somewhere a while ago (probably on Pinterest). I was going to glue a couple of magnets I had lying around onto the back of the tin and stick it to the fridge and then I realized I didn’t even need to glue them because, duh, the tin is magnetic too. So, two simple steps;
1) stick magnets to fridge
2) stick tin to magnets
3) place pens/pencils in tin.
Et voila! Fini.


Oh, I searched online to find where I had seen this idea originally and here it is. Good ol’ Martha Stewart. She had an even better idea which is to place the magnets inside the tin.
